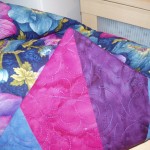
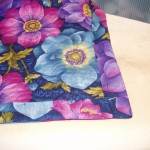
I am absolutely enamored with the finished look of a knife-edge binding. Others might call it something else but I am referring to the binding that is flipped to the back and doesn’t show on the front.
So, here’s a little pictorial tutorial of how to do it…
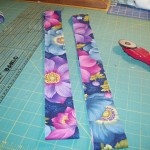
Measure the sides of your quilt and cut one 2″ binding strip for each side.
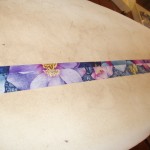
Then fold and press under 1/2″ on one side of each binding strip. This will be your final edge of your binding.
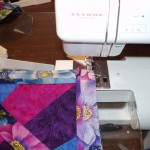
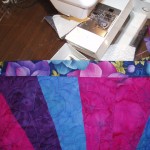
Sew your first binding strip on by placing it on the edge of your quilt, right sides together (pinning is recommended), and sew with a 1/4″ seam allowance. Add the second binding strip onto the opposite side of the quilt in the same manner.
Add the remaining two binding strips in the same manner. They will overlap the first two strips at the corners.
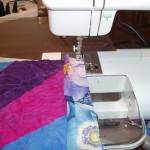
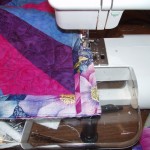
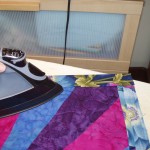
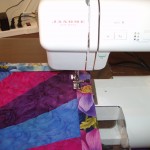
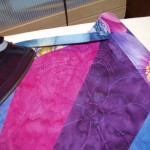
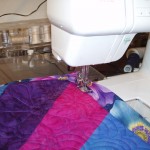
At this point, I like to press the binding towards the seam allowance. Start with the binding strips on top first – the last two you sewed on. Then sew a seam through the binding and seam allowance. I use about a 1 /16″ to 1/8″ seam allowance and this allows the fold to turn to the back a little better. You may decide that you don’t like the look of that extra stitching line through the binding on the back and skip it but truthfully, I think it really helps.
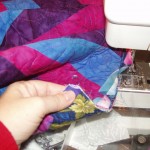
Now, repeat this process with the remaining two sides. It will be a little trickier because the corners have been trapped in when the final two bindings were attached but ease the iron up as close as possible into the corner and do the same with the sewing machine foot.
Now, roll the binding to the back side, pin in place and hand stitch it down. Trimming the bulk in the corners is helpful – I cut the tip of the corner off at a 45 degree angle and sometimes “shave” a little off the sides but be very careful not to trim so deeply that you mess up the binding! I also have to work the corners out by using a blunt stick to help turn them and push them into shape as well as gently “picking and pulling” from the outside. Be careful not to pull so much that the corner is distorted. I never get a “pointy” corner but a soft round corner. You may be better at it than me!
But there you have it – Voila!
