Archive for December, 2011

Big Goose, Littel Goose – Next Installment of the Goose BOM

Saturday, December 31st, 2011

I hope everyone has had a holiday season just the way they liked it – and if not, make a New Year’s resolution to change it! I, for one did spend some time and some money on just me – albeit after Christmas and at the pre-inventory sales! But the point is, I did eventually get around to some me time! And today, I will be washing all that pre-inventory booty before it enters my studio – yes, I am a fabric washer….

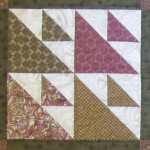
So here’s the next Goose Block – I picked this one to be next in line  since we had just done the “bigger” version of this block – Goose in the Air. This  one could be called Goose and Goslings too but for some reason, I opted for Big Goose, Little Goose. Some of you may know it by another name but that name doesn’t fit the theme we’ve got going here!


Here is the block in different color suggestions! Alas, it is paper-pieced again but a very simple pattern.

big goose little goose pattern   big goose, little goose instructions

Enjoy! And Happy New Year!

Busy Time of Year!

Friday, December 23rd, 2011

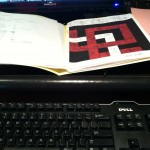
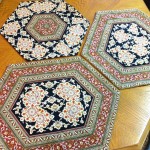
Pretty much this is all I’ve been looking at for the last few weeks!

Lots of pattern writing going on and its a must-do over the Christmas holidays since its the only time my In-Design guru will be home from college to help me when things don’t make any sense in this program! She has been a jewel – good thing she  knows her stuff although I think she’s beginning to have her doubts about me!

But before I immersed myself in computer lingo this month, I did do a little bit of sewing for Christmas! Love this pattern! Easy Striped Table Runner designed by Karen Montgomery. I don’t often buy patterns –  being somewhat of “I can figure that out” kind of quilter but this one was worth the investment! And it was as much fun or even more than doing a Stack-n-whack quilt! Each and every table runner was a beautiful surprise! I’ll show you a few since I have already delivered these and they have been opened!


Each Christmas, I try to make gifts – saves money and seems more meaningful to me than going out and shopping til I drop and breaking the budget too! I only wish that one Christmas I would spend some time making some of these fun gifts just for myself!

I would stop and do that now but I’ve only got so much time with my In-design guru and every minute counts!

Meanwhile, here’s hoping every one has a happy and healthy Holiday season – Blessing to all and Happy New Year!


Knife-Edge Binding

Monday, December 5th, 2011

I am absolutely enamored with the finished look of a knife-edge binding. Others might call it something else but  I am referring to the binding that is flipped to the back and doesn’t show on the front.

So, here’s a little pictorial tutorial of how to do it…

Measure the sides of your quilt and cut one 2″  binding strip for each side.
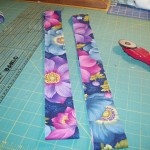
Then fold and press under 1/2″ on one side of each binding strip. This will be your final edge of your binding.
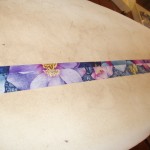
Sew your first binding strip on by placing it on the edge of your quilt, right sides together (pinning  is recommended), and sew with a 1/4″ seam allowance. Add the second binding strip onto the opposite side of the quilt in the same manner.
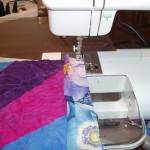
Add the remaining two binding strips in the same manner. They will overlap the first two strips at the corners.

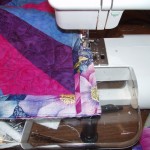
    

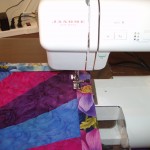
At this point, I like to press the binding towards the seam allowance. Start with the binding strips on top first – the last two you sewed on. Then sew a seam through the binding and seam allowance. I use about a 1 /16″ to 1/8″ seam allowance and this allows the fold to turn to the back a little better. You may decide that you don’t like the look of that extra stitching line through the binding on the back and skip it but truthfully, I think  it really helps.
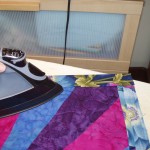
     

Now, repeat this process with the remaining two sides. It will be a little trickier because the corners have been trapped in when the final two bindings were attached but ease the iron up as close as possible into the corner and do the same with the sewing machine foot.

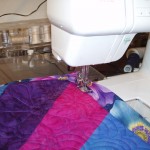
 

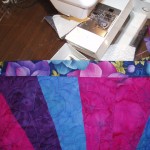
Now, roll the binding to the back side, pin in place and hand stitch it down.  Trimming the bulk in the corners is helpful – I cut the tip of the corner off at a 45 degree angle and sometimes “shave” a little off the sides but be very careful not to trim so deeply that you mess up the binding! I also have to work the corners out by using a blunt stick to help turn them and push them into shape as well as gently “picking and pulling” from the outside. Be careful not to pull so much that the corner is distorted. I never get a “pointy” corner but a soft round corner. You may be better at it than me!
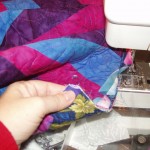



But there you have it – Voila!